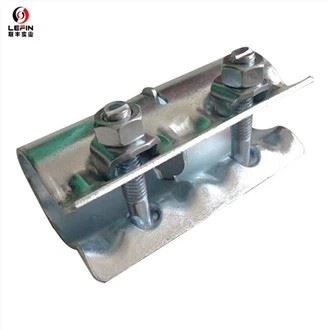
Scaffolding is an essential structure in the construction and maintenance industries, providing a safe and stable working platform at various heights. A scaffolding coupler plays a pivotal role in this setup, as it is the component that joins different scaffolding tubes together. Proper installation of scaffolding couplers not only ensures the structural integrity of the entire scaffolding but also enhances the safety of workers. As a scaffolding coupler supplier, I am here to share a comprehensive guide on how to install a scaffolding coupler.
Types of Scaffolding Couplers
Before diving into the installation process, it's crucial to understand the different types of scaffolding couplers available. Each type serves a specific purpose and has its own installation requirements.
- Right - Angle Couplers: These are used to connect two tubes at a 90 - degree angle. They are commonly found in the corners of a scaffolding structure, providing stability and support for the framework.
- Swivel Couplers: Swivel couplers allow tubes to be connected at any angle. They offer flexibility in scaffolding design, enabling the construction of complex structures. One example is the 48.3mm Swivel Coupler, which is widely used in many construction projects for its versatility.
- Putlog Couplers: Putlog couplers are designed to connect a horizontal tube (putlog) to a vertical tube. They are often used in bricklaying or other wall - related construction work.
- Limpet Couplers: Limpet couplers are used to attach scaffolding tubes to other objects, such as existing structures. The EN74 Scaffold Limpet Coupler is a popular choice that meets specific European standards, ensuring high - quality and reliable performance.
- JIS Swivel Couplers: The JIS Swivel Coupler is designed according to Japanese Industrial Standards. It offers reliable and flexible tube connections, suitable for a wide range of construction applications in regions that follow JIS requirements.
Pre - installation Preparations
- Inspection: Thoroughly inspect all the components before installation. Check the scaffolding couplers for any signs of damage, such as cracks, deformation, or excessive wear. Ensure that the tubes are straight, have no internal or external damage, and have the correct diameter to fit the couplers.
- Cleaning: Clean the tubes and couplers to remove any dirt, debris, or rust. This will ensure a proper fit and prevent corrosion, which can weaken the connection over time.
- Measurement: Measure the lengths and positions of the tubes accurately according to the scaffolding design plan. Mark the installation points on the tubes to ensure precise placement of the couplers.
Installation Steps
Step 1: Select the Right Coupler
Based on the required connection angle and the scaffolding design, choose the appropriate type of coupler. For example, if you need to connect two tubes at a 90 - degree angle, select a right - angle coupler. Make sure the coupler is the correct size for the tubes you are using. The inside diameter of the coupler should match the outside diameter of the tubes.
Step 2: Position the Tubes
Place the tubes in the desired position according to the design plan. Ensure that they are stable and level. Use appropriate support structures or temporary bracing if necessary to keep the tubes in place during the installation process.
Step 3: Insert the Tubes into the Coupler
For right - angle and swivel couplers, carefully insert the ends of the tubes into the respective jaws of the coupler. The tubes should be fully inserted into the coupler, with no gaps or misalignments. Make sure the tubes are in contact with the inner surfaces of the coupler jaws to ensure a secure connection.
Step 4: Tighten the Coupler
Use a suitable spanner or wrench to tighten the nuts on the coupler. Apply a sufficient amount of torque to ensure a tight connection, but avoid over - tightening, as this can damage the coupler or the tubes. The recommended torque values may vary depending on the type and size of the coupler. It is important to follow the manufacturer's guidelines for the specific coupler you are using.
Step 5: Check the Connection
After tightening the coupler, check the connection for any signs of looseness or misalignment. Try to move the tubes gently to ensure that the connection is secure. If you notice any issues, loosen the coupler and re - position the tubes before tightening it again.
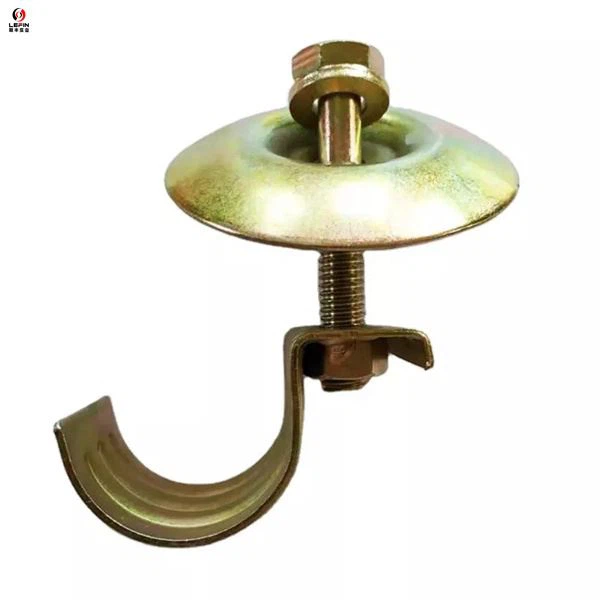
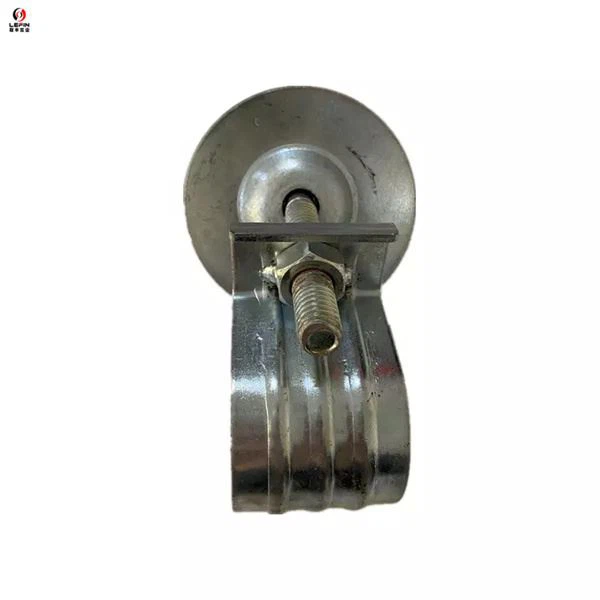
Step 6: Repeat the Process
Continue the installation process for all the required couplers and tubes according to the scaffolding design. Make sure to follow the same steps for each connection to ensure consistency and safety.
Safety Considerations
- Personal Protective Equipment (PPE): Wear appropriate PPE, such as hard hats, safety glasses, gloves, and safety shoes, during the installation process. This will protect you from potential hazards, such as falling objects or sharp edges.
- Fall Protection: If the installation is being carried out at a height, use proper fall protection equipment, such as safety harnesses and guardrails. Ensure that the scaffolding structure is stable and secure before working on it.
- Compliance: Ensure that the installation process complies with all relevant safety standards and regulations. This includes local building codes, industry - specific guidelines, and any certification requirements for the scaffolding and couplers.
Quality Assurance
- Regular Inspections: Conduct regular inspections of the scaffolding and couplers during the construction process and throughout the project. Check for any signs of damage, loosening, or wear. If any issues are found, take immediate action to repair or replace the affected components.
- Documentation: Keep detailed records of the installation, including the type and quantity of couplers used, the installation dates, and any inspections or maintenance carried out. This documentation will be useful for future reference and can help demonstrate compliance with safety standards.
Conclusion
Installing a scaffolding coupler is not a complex task, but it requires careful planning, proper preparation, and strict adherence to safety procedures. By following the steps outlined in this guide, you can ensure a safe and reliable scaffolding installation. As a reliable scaffolding coupler supplier, we are committed to providing high - quality products that meet the highest standards of safety and performance.
If you are in need of scaffolding couplers for your construction or maintenance project, we would be more than happy to assist you. Our wide range of products, including EN74 Scaffold Limpet Coupler, JIS Swivel Coupler, and 48.3mm Swivel Coupler, can meet various project requirements. Contact us today to discuss your specific needs and explore the best solutions for your project.
References
- Relevant industry standards and guidelines for scaffolding installation.
- Manufacturer's manuals and specifications for scaffolding couplers.